Managing your team in Strev starts with inviting users and assigning them the right level of access. Whether you’re onboarding new employees or managing permissions across departments, Strev makes it easy.
Inviting New Users
To invite users to your Strev workspace:
1. Log in to your account.
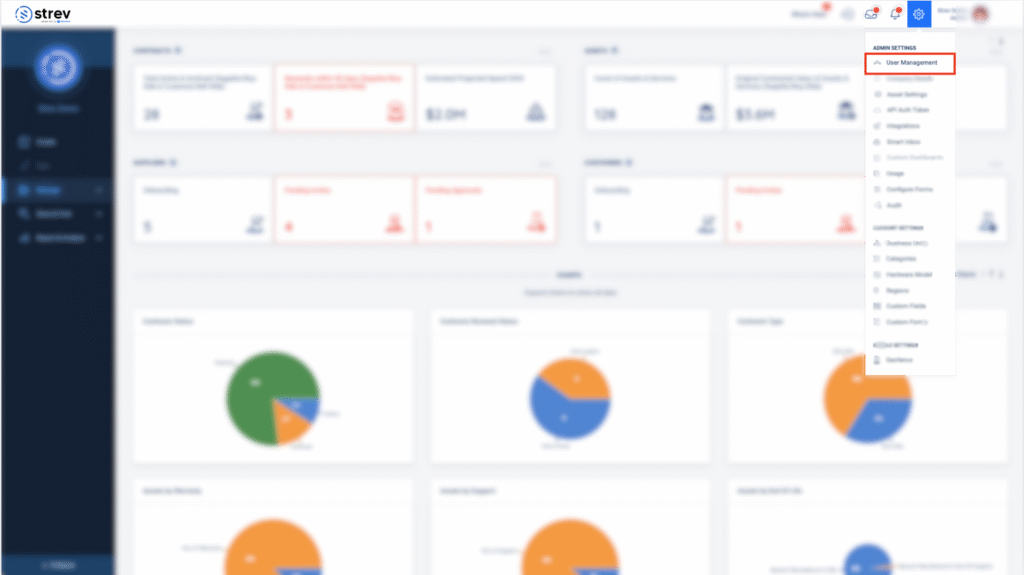
2. Click the gear icon (⚙️) in the top-right corner to open Account Settings.
3. Under Admin Settings, select User Management > Users.
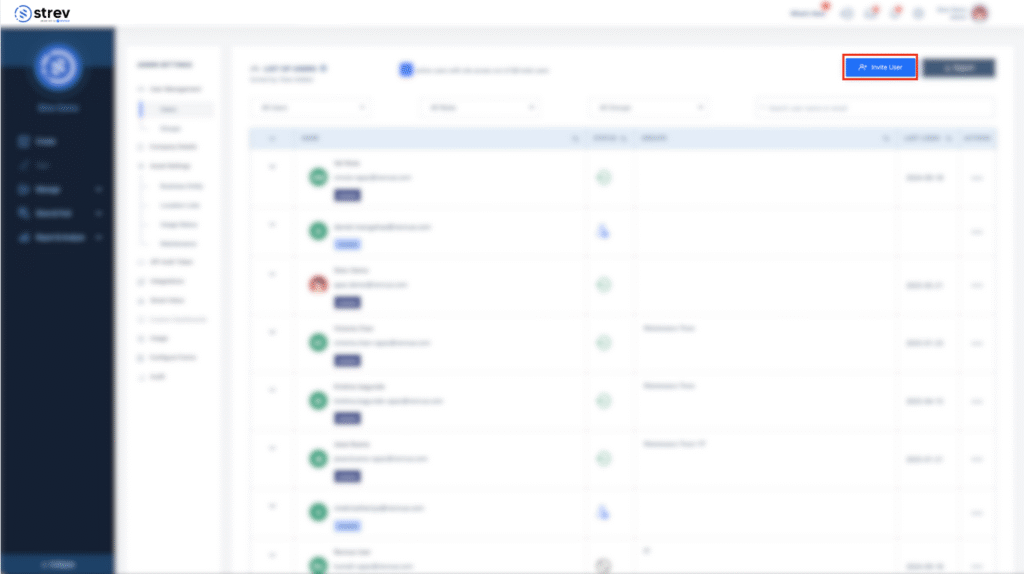
4. Click the Invite User button at the top-right corner.
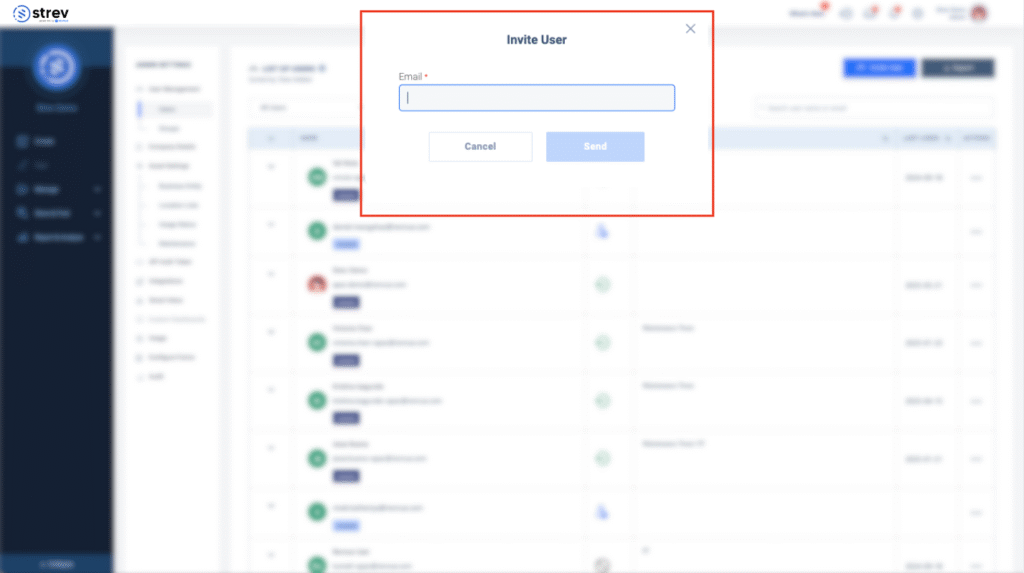
5. A pop-up modal will appear where you can enter the email address of the user you want to add to the account.
6. Click ‘send’ to send the user an invite to join.
The user will receive an email invitation with a link to join your workspace.
Default Role After Invitation
For security reasons, all newly added users are automatically assigned the Viewer role upon joining.
To update a user’s role:
- From the Users list, click the three dots (⋮) next to the user.
- Select View Profile.

In the Role dropdown, choose Regular or Admin.
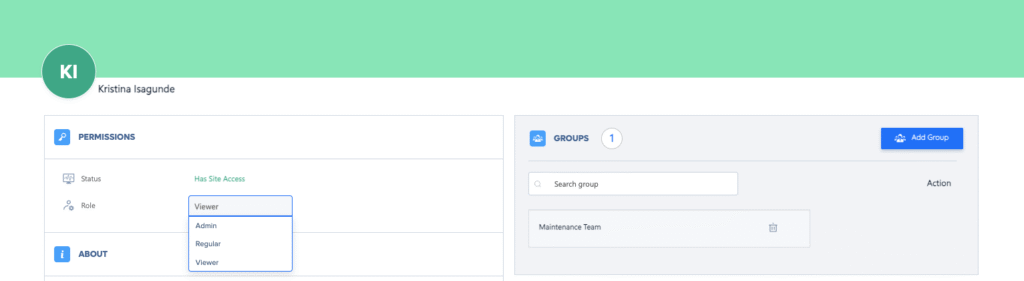
🔁 You can change a user’s role anytime if their responsibilities evolve.
Assigning Roles and Permissions
Strev offers predefined roles to help you manage access based on responsibilities. Roles control what users can view, create, edit, or delete.
Common Roles:
- Admin – Full access to all modules and settings
- Regular – Access to most modules but limited settings
- Viewer – Read-only access across the platform
- Custom Roles – If enabled, you can define your own permissions under Configure Forms > Roles (Enterprise only)
To assign or change a user’s role:
- Go to User Management > Users
- Find the user and click the (⋮) icon, then select View Profile.
- Select a new role from the Role dropdown and save changes
Resending or Revoking Invitations
- To resend an invitation, go to the Users list, find the pending invite, and click Resend.
- To cancel an invitation, go to the Users list, find the pending invite, and click Cancel.
- To revoke access, click the More Options (⋮) icon and select Deactivate or Remove.
What Are Groups?
Groups allow you to manage permissions at a more detailed level. Instead of configuring access for each user individually, you can:
- Create a group (e.g., Admin, IT, Sales, Finance, Marketing, Maintenance, etc)
- Define the visibility and actions allowed for each module (Contracts, Assets, Suppliers, etc.)
- Add users to that group to automatically apply the group’s permissions
Example Use Cases:
- An IT Group may have access to assets and suppliers but not contracts.
- A Sales Group may have access to contracts and customers only.
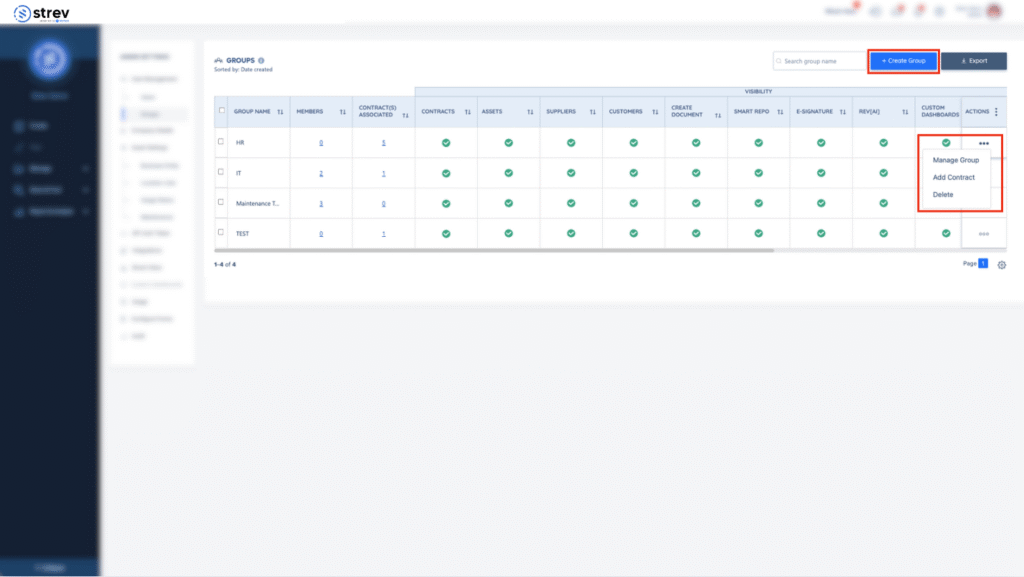
To manage or create groups:
- Go to User Management > Groups
- Click Create Group or select Manage Group from the three-dot (⋮) menu
- Configure:
- Group visibility for modules
- Permission levels (View, Create/Edit, Delete)
- Add/remove group members
Need help setting up advanced permissions? Contact support@strev.ai and we’ll be happy to assist.
